Transforming optical glasses box into unique works of art
If you wear glasses, you probably have a collection of optical glasses boxes lying around. Like me, you might wonder how to give these functional but plain items a new lease on life. Since I’ve been wearing glasses since 2012, I’ve accumulated a fair share of optical boxes. This upcycling approach is also explored in my work with beverage cans as textile art. Instead of discarding them, I decided to turn them into art pieces. Today, I’m sharing my step-by-step process to paint on optical glass boxes and create a unique style.
Grab your supplies and let’s get creative!
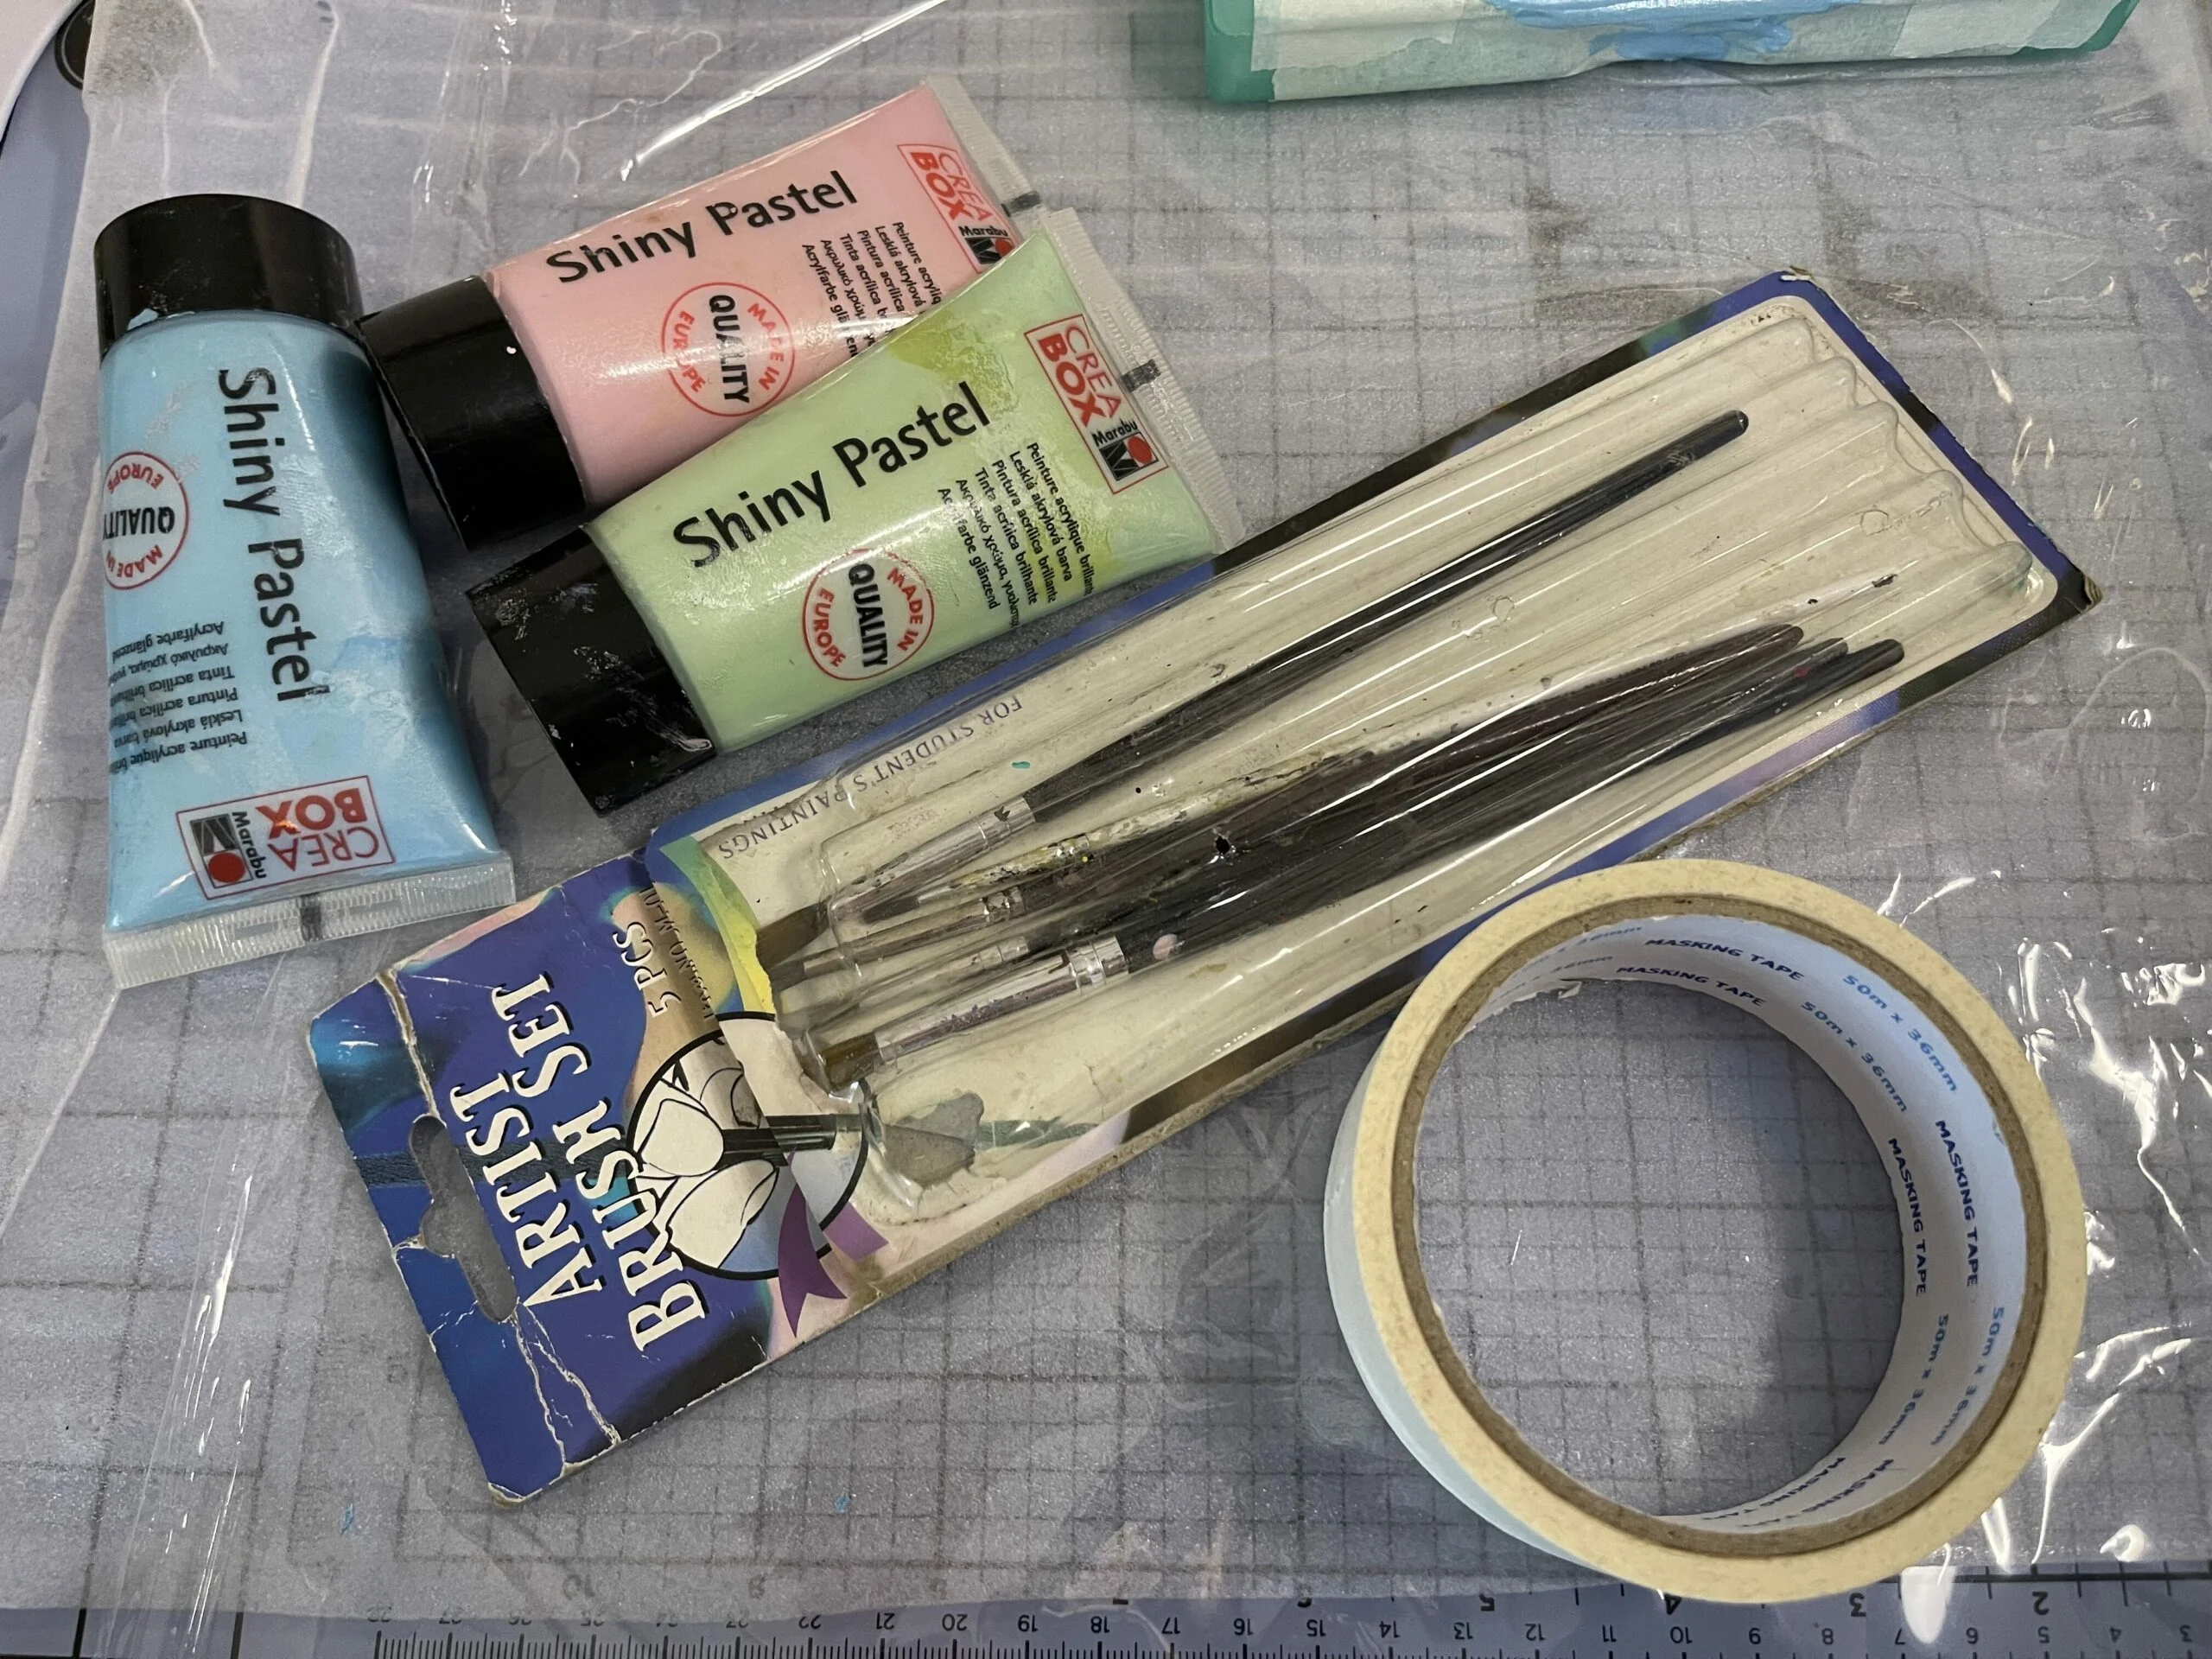
Materials Needed
-
Optical glass box (plastic or metal)
-
Sandpaper (fine-grit)
-
Acrylic paints (your choice of colors)
-
Paintbrushes (various sizes for detailing and filling)
-
Palette or mixing surface
-
Pencil or fine-tipped marker
-
Varnish (optional, for a polished finish)
-
Clean cloth or tissue
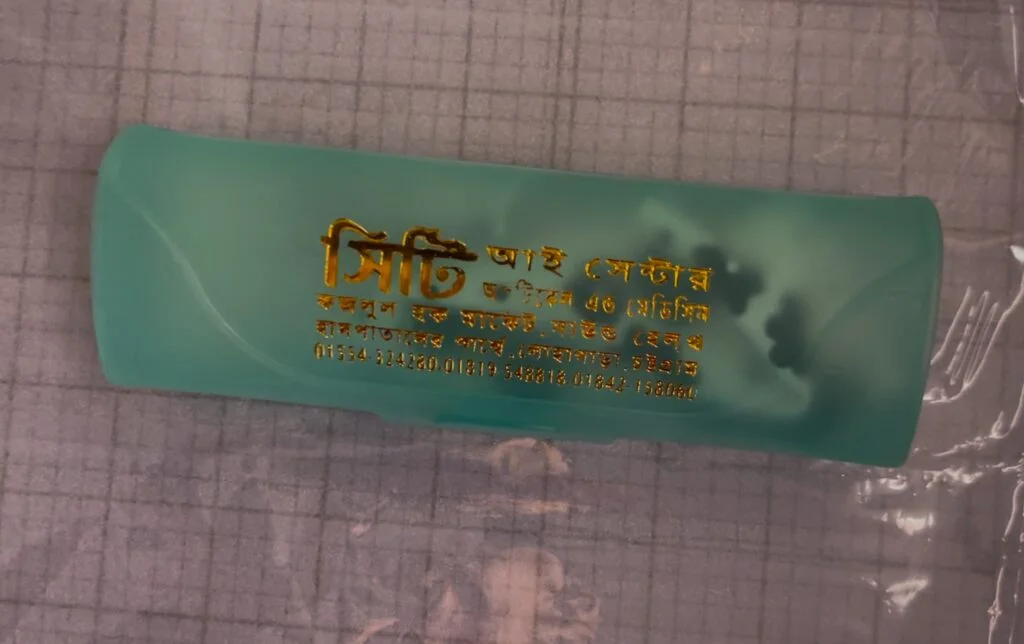
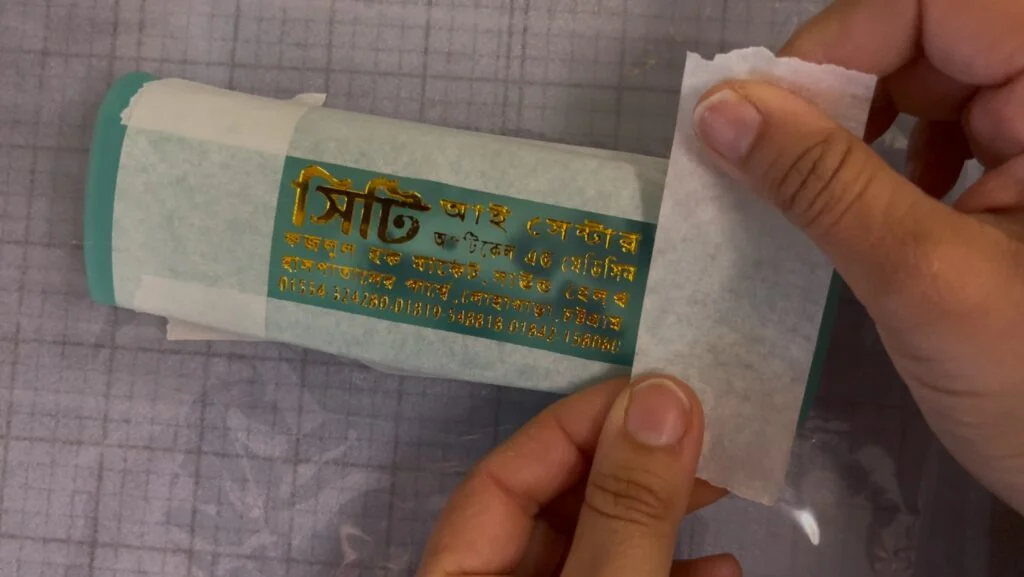
Step 1: Prepare Your Optical glasses Box
The first step is to prepare the surface of your optical box for painting. Start by cleaning the box with a cloth to remove dust and oils. Once it’s clean and dry, assess whether the box has any logos, names, or engravings you’d like to cover.
Tip:
Use masking tape to block off any parts you don’t want to paint. This ensures a clean and precise look. If the box has engravings, don’t worry—we’ll address them next!
Buy your acrylic painting materials on Amazon
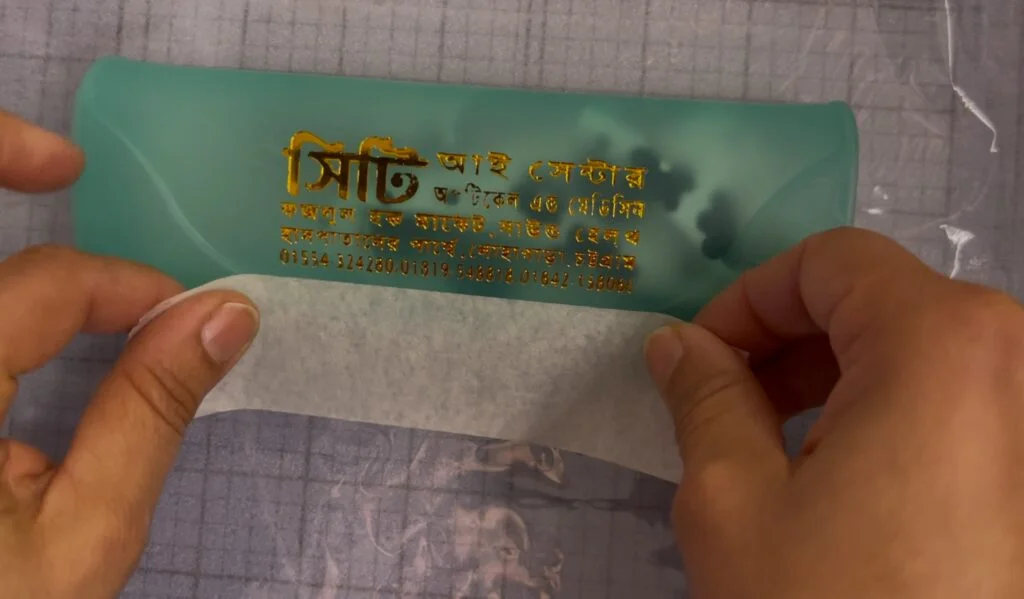
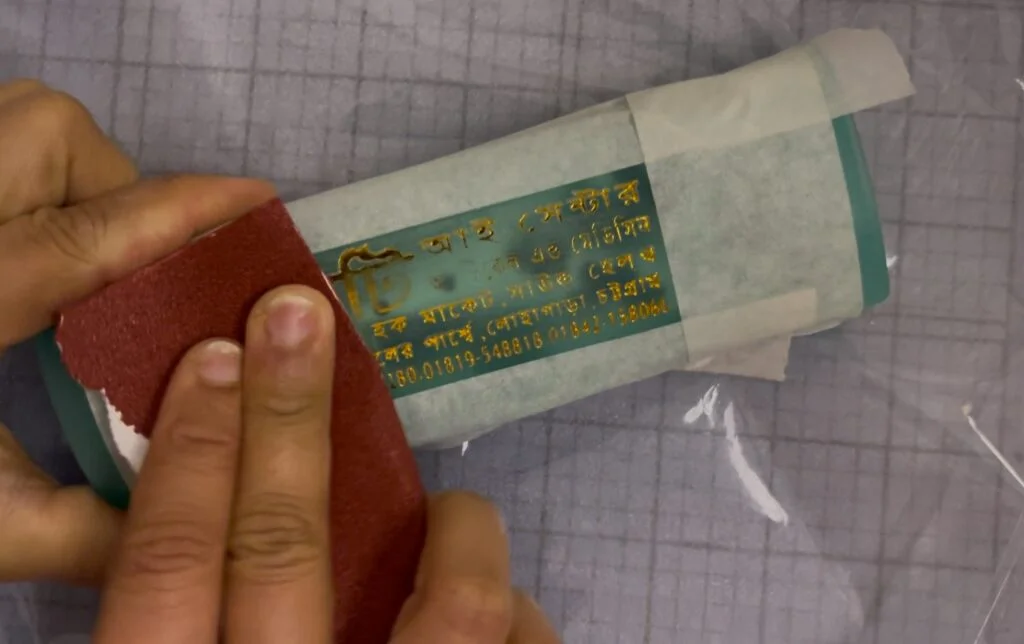
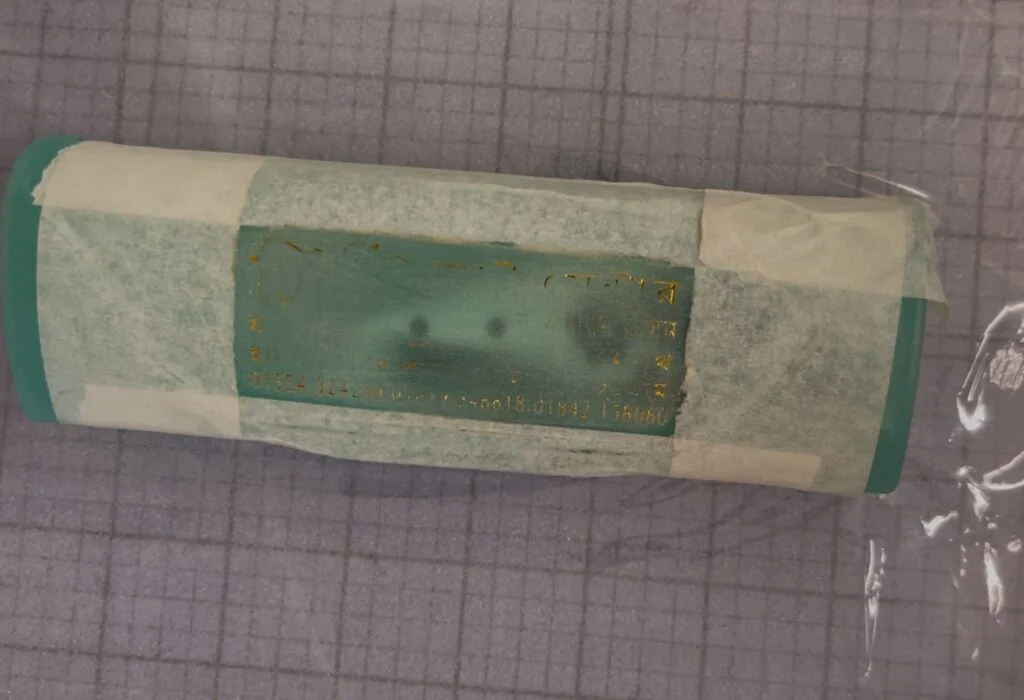
Step 2: Remove Logos and Engravings
To eliminate logos or engraved text, lightly sand the affected areas with fine-grit sandpaper. This will smooth the surface and make it easier to apply paint. Be gentle to avoid damaging the box’s structure.
Once sanded, wipe away any dust with a clean cloth. Now your optical box is ready for a complete makeover!
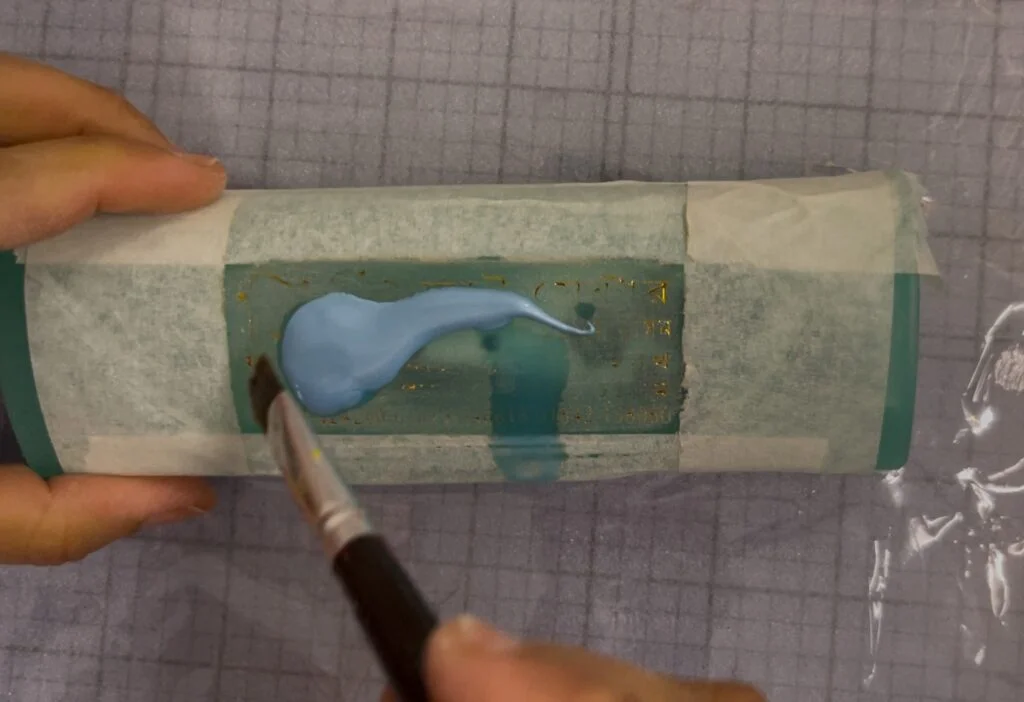
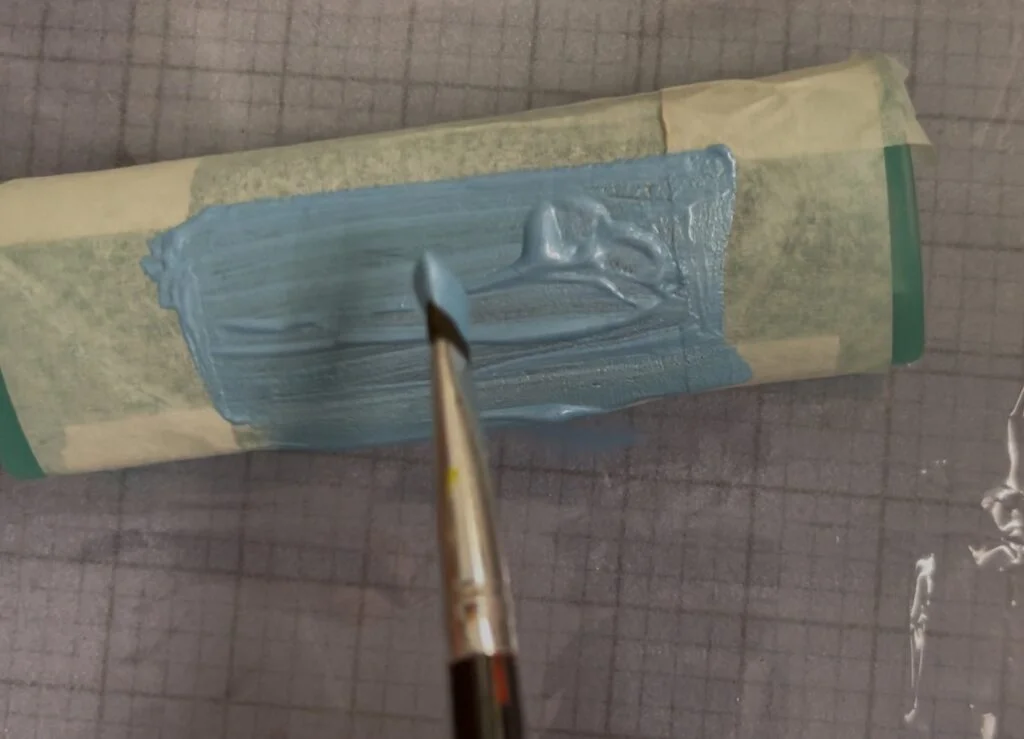
Step 3: Base Coat and Coloring
Choose a base color for your optical box. Acrylic paints are ideal because they adhere well to plastic and metal and dry quickly for a permanent finish.
-
Use a flat brush to apply the base coat evenly.
-
Allow the paint to dry for 10-15 minutes before applying additional layers. This prevents streaks and ensures a solid color.
Buy your acrylic painting materials on Amazon
Note:
Acrylic paint dries darker than it appears when wet. Keep this in mind while mixing and selecting colors.
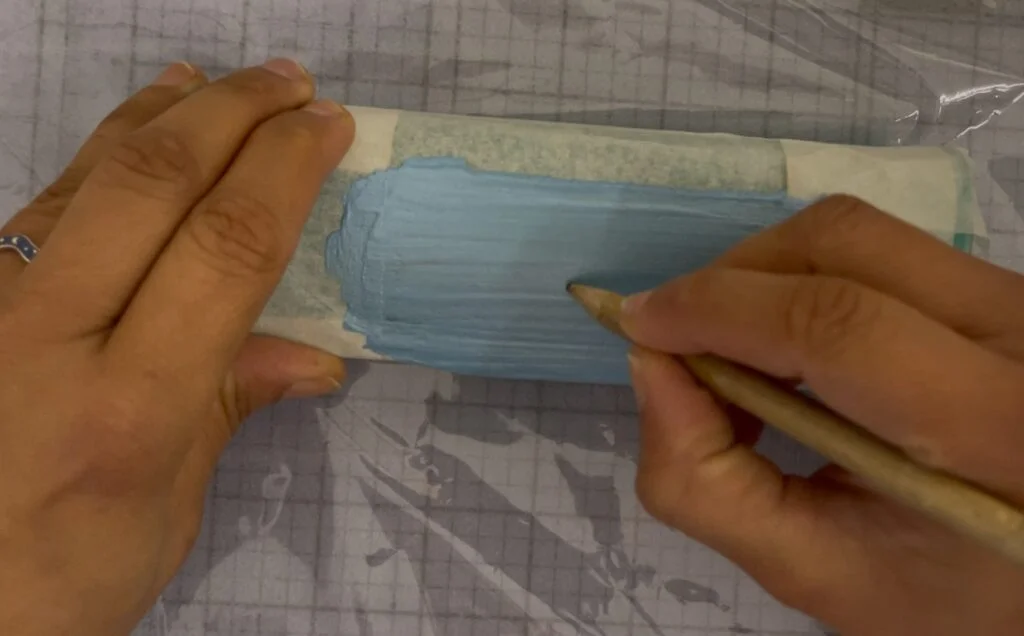
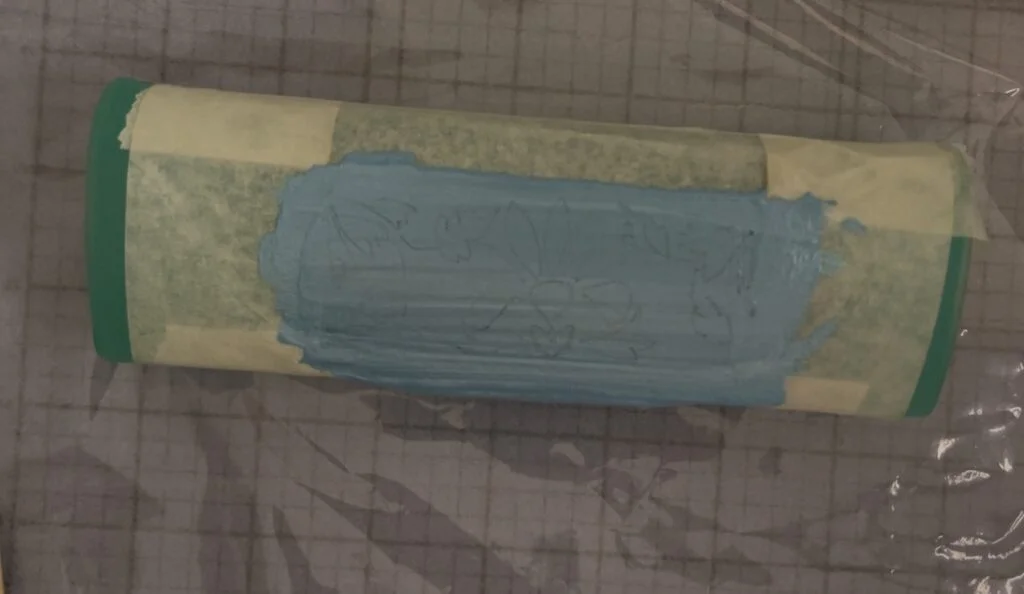
Step 4: Design Your Motif
Once the base coat is dry, it’s time to draw the design you want to paint. Use a pencil or fine-tipped marker to lightly sketch your motif.
Ideas for Motifs:
-
Geometric patterns for a modern look
-
Floral for a soft, feminine touch
-
Abstract shapes for an artistic vibe
-
Monochrome designs for minimalism
Whether you prefer vibrant, colorful designs or simple monochrome patterns, let your creativity flow.
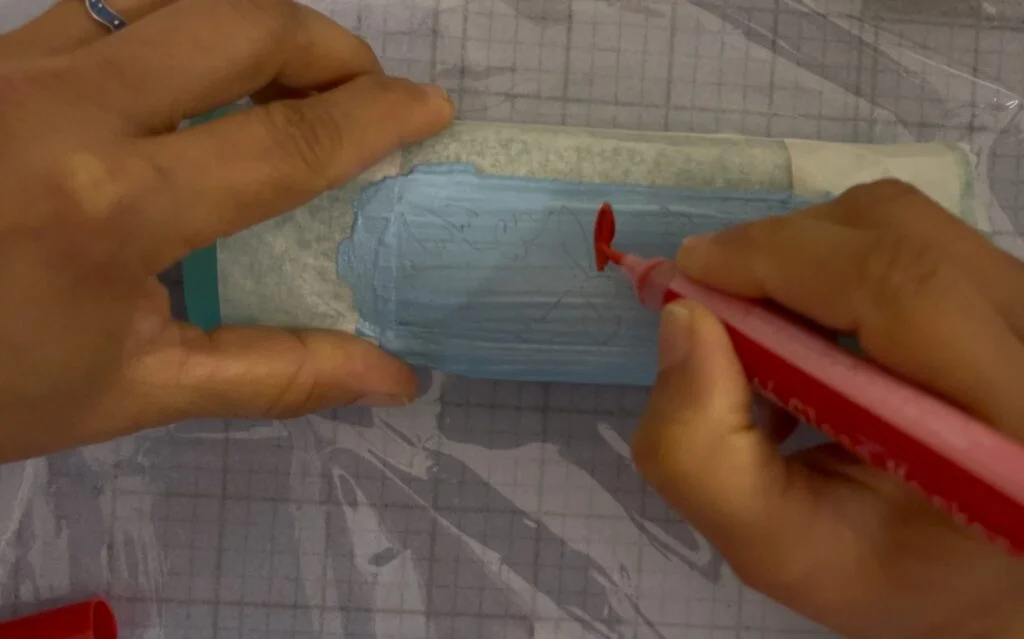
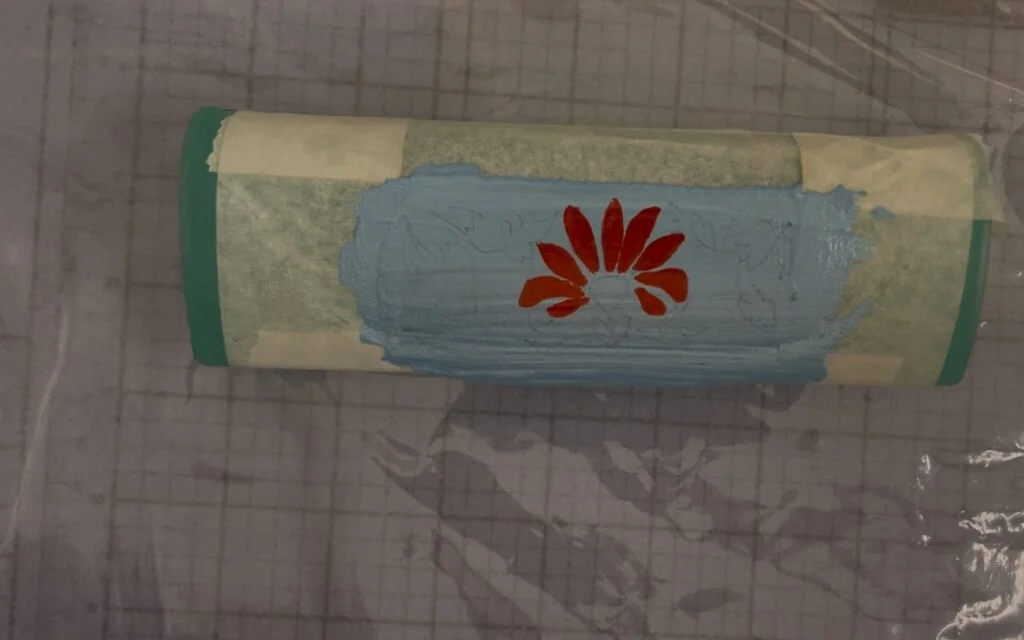
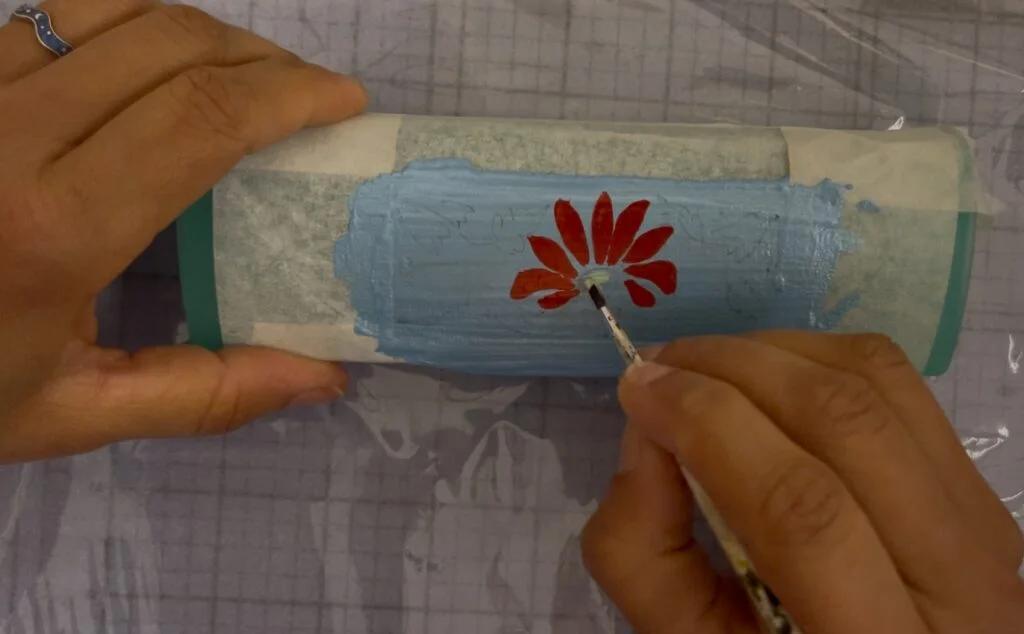
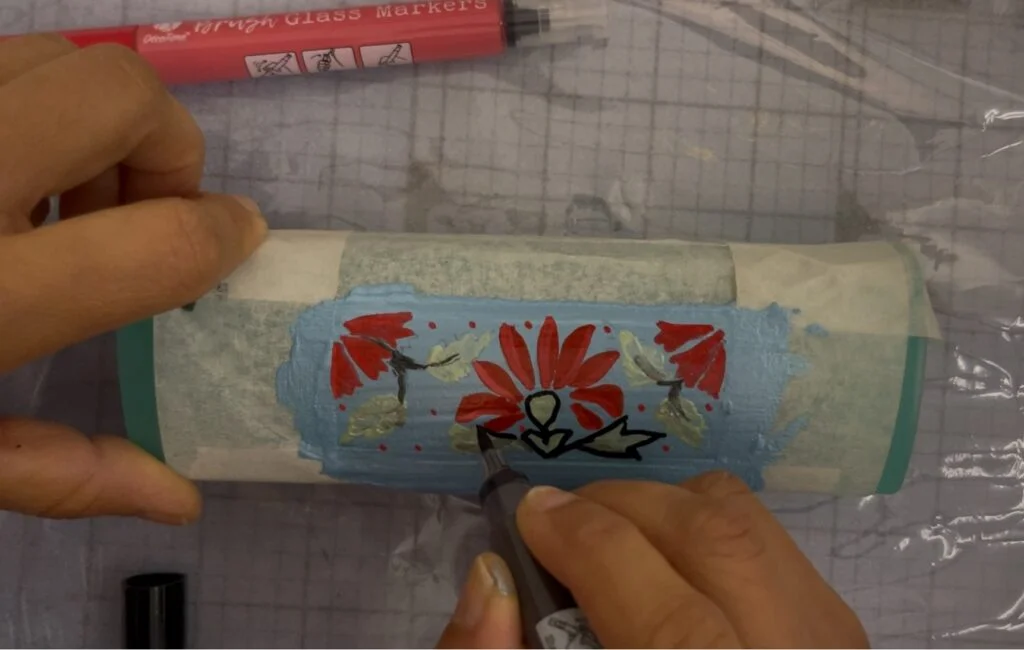
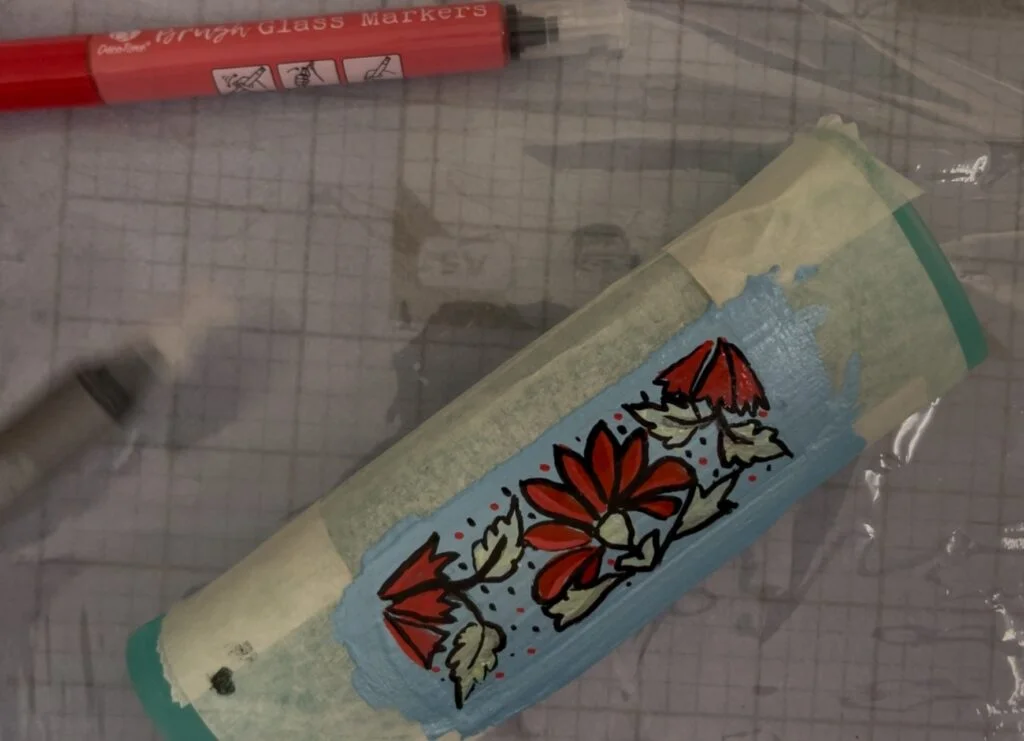
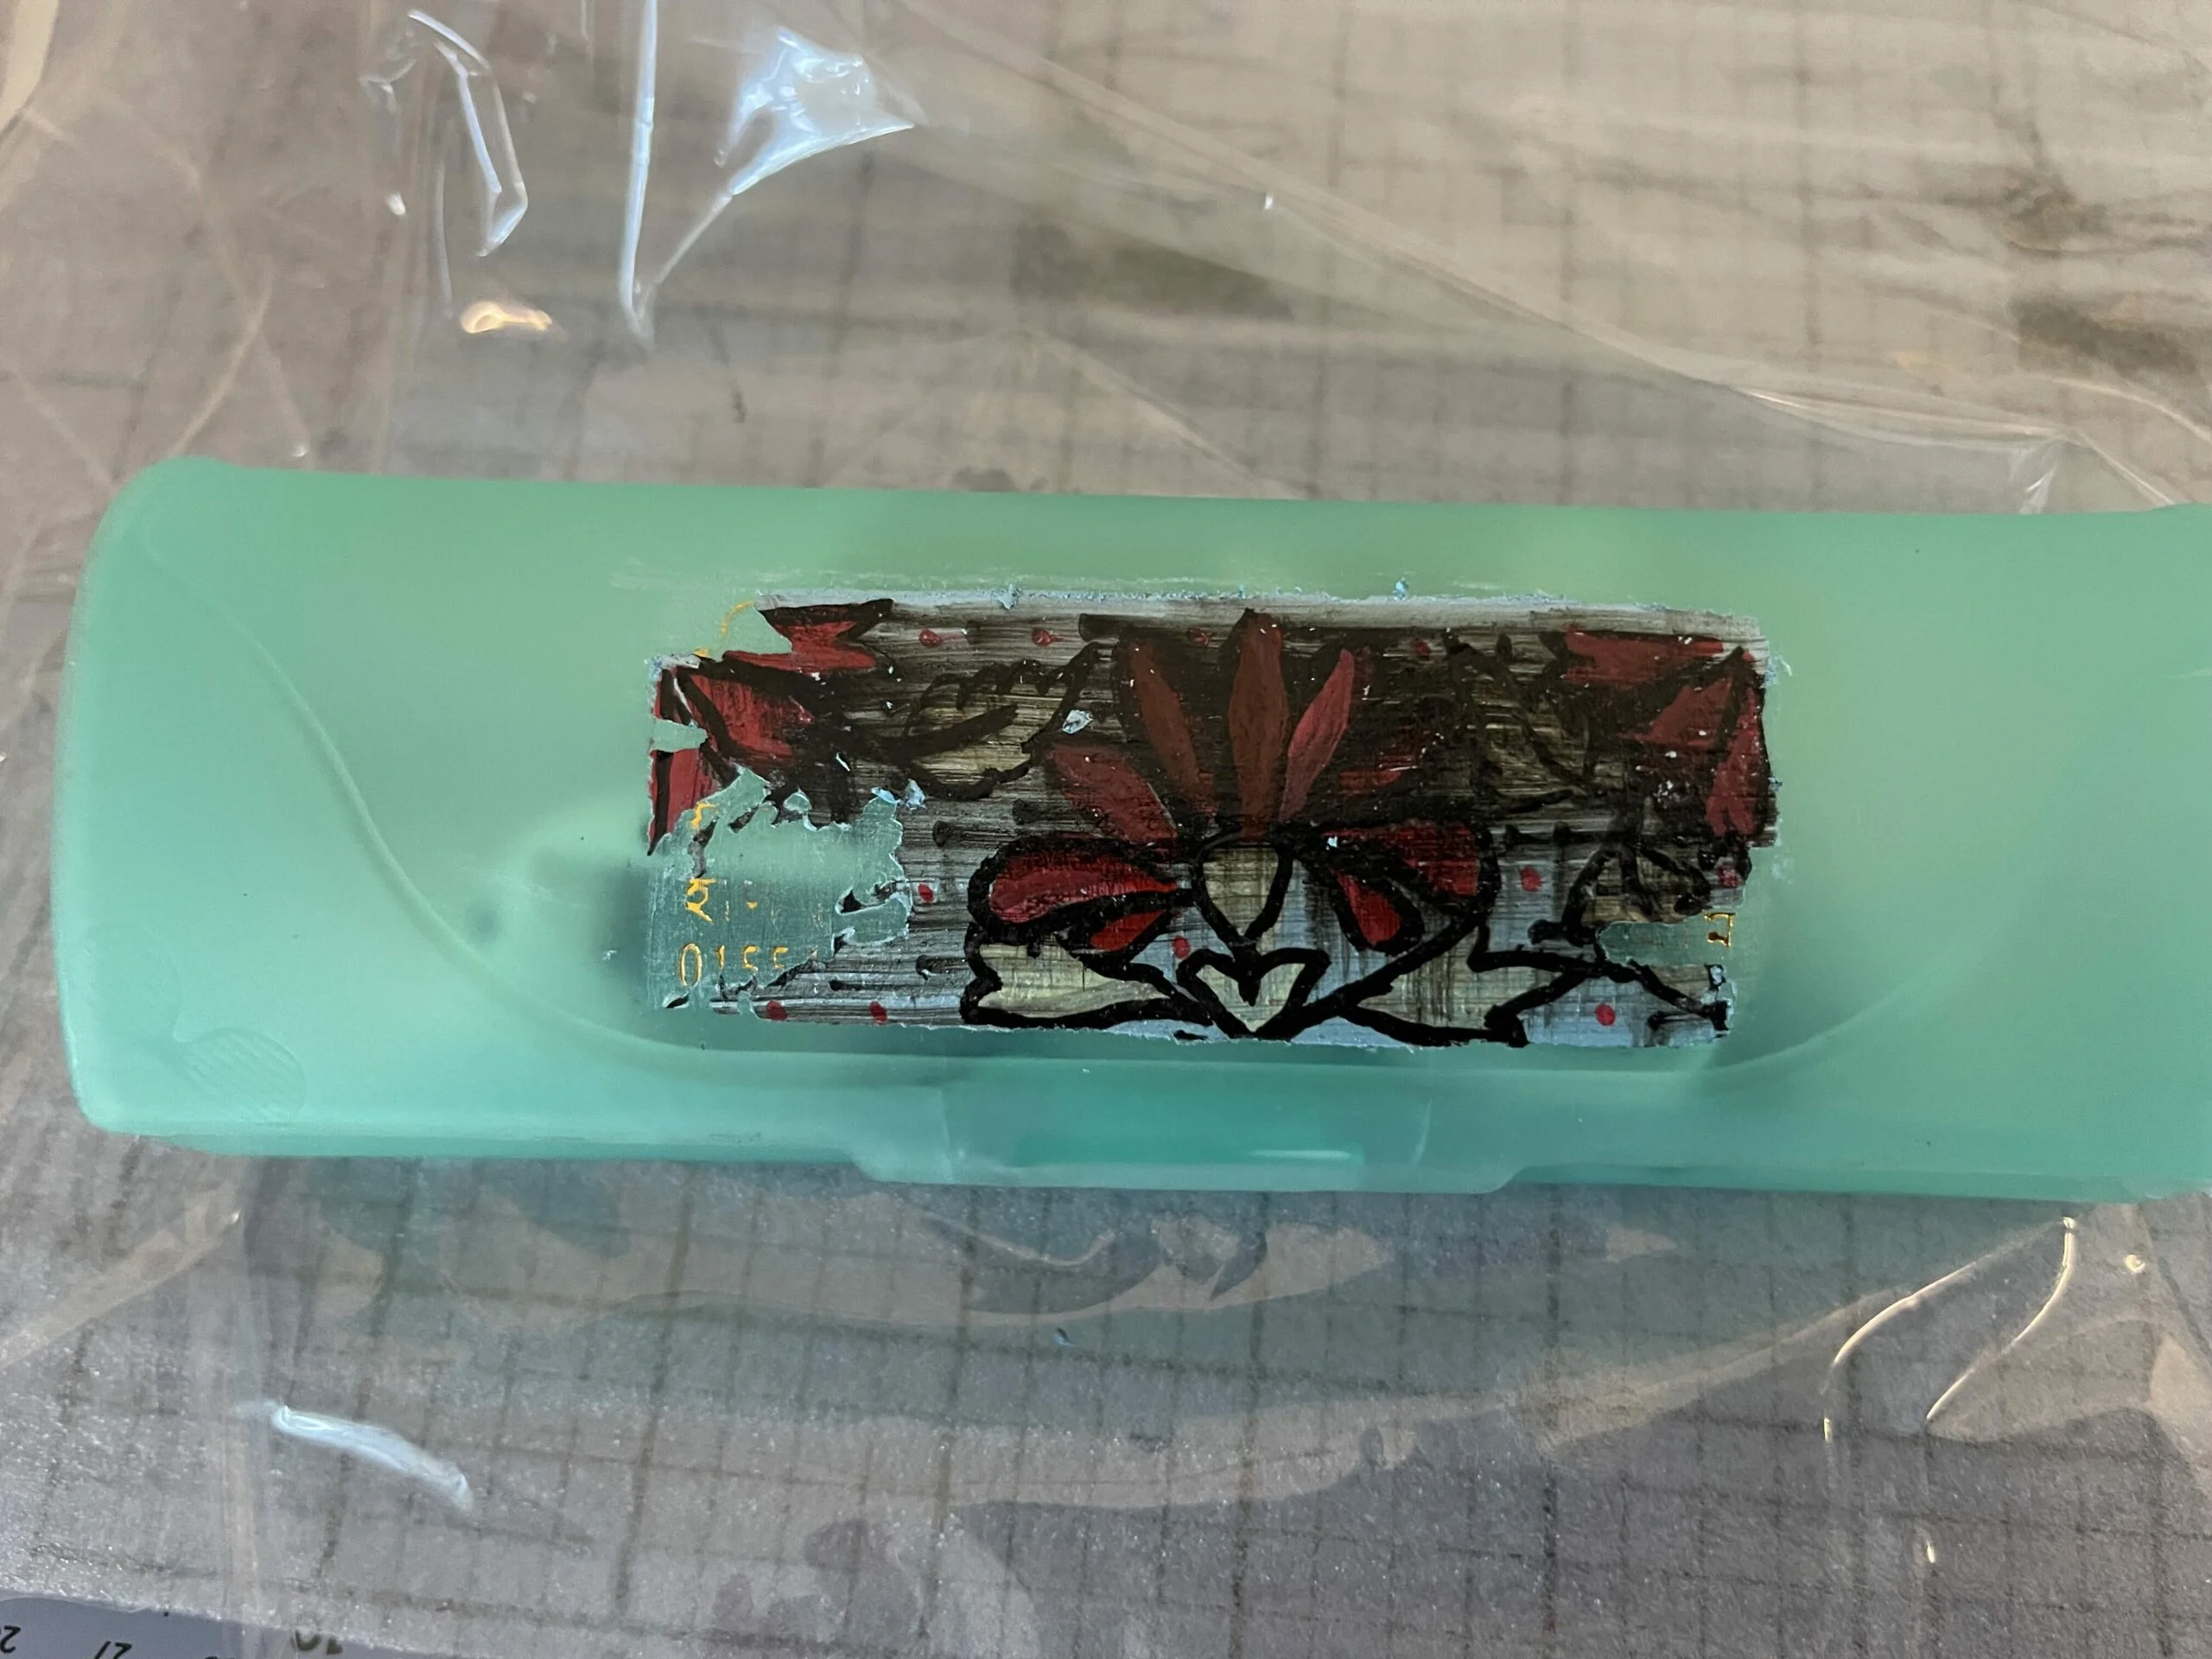
Step 5: Bring Your Design to Life
With your motif sketched, use smaller brushes to fill in details and bring your design to life. Start with larger sections before moving to fine details. If you’re adding multiple colors, let each layer dry before applying the next to avoid smudging.
Buy your acrylic painting materials on Amazon
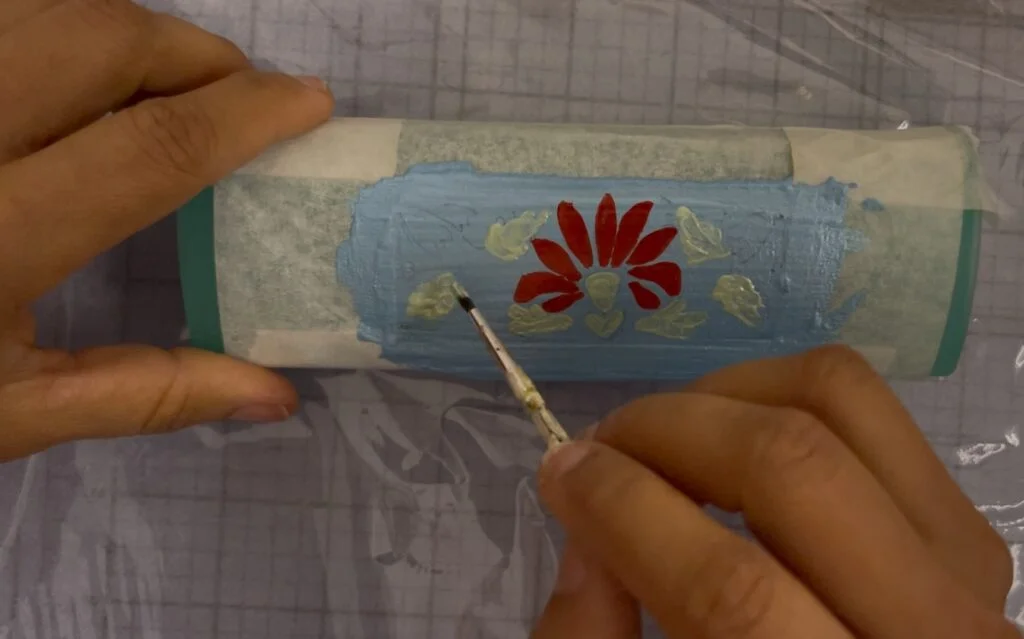
Tip:
Experiment with gradients, shading, or texture to add depth to your design. Sponges and palette knives can help achieve unique effects.
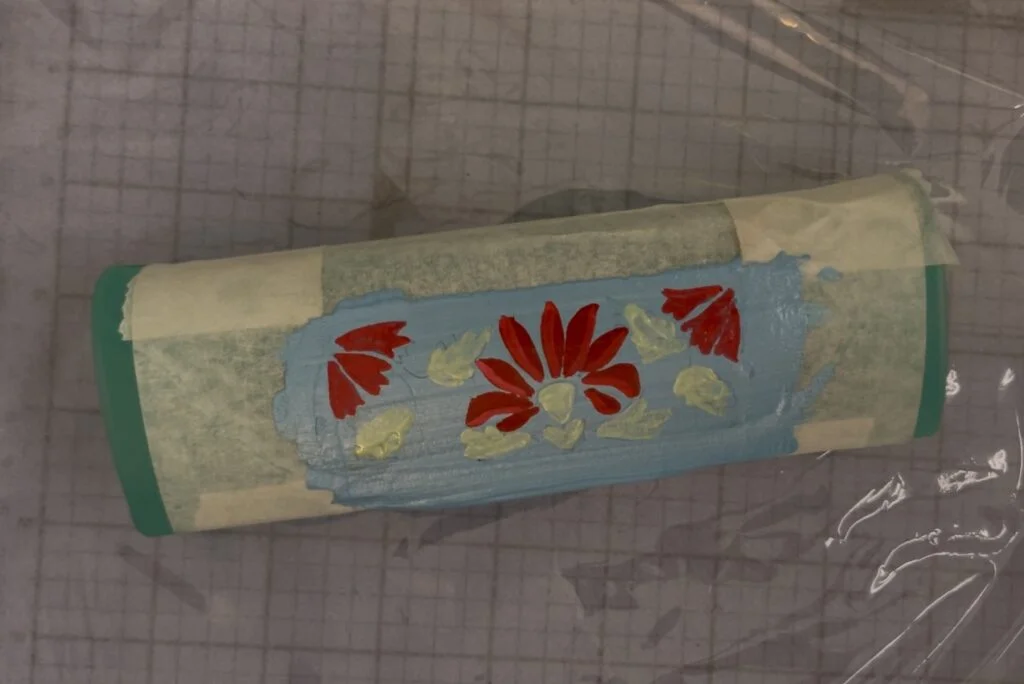
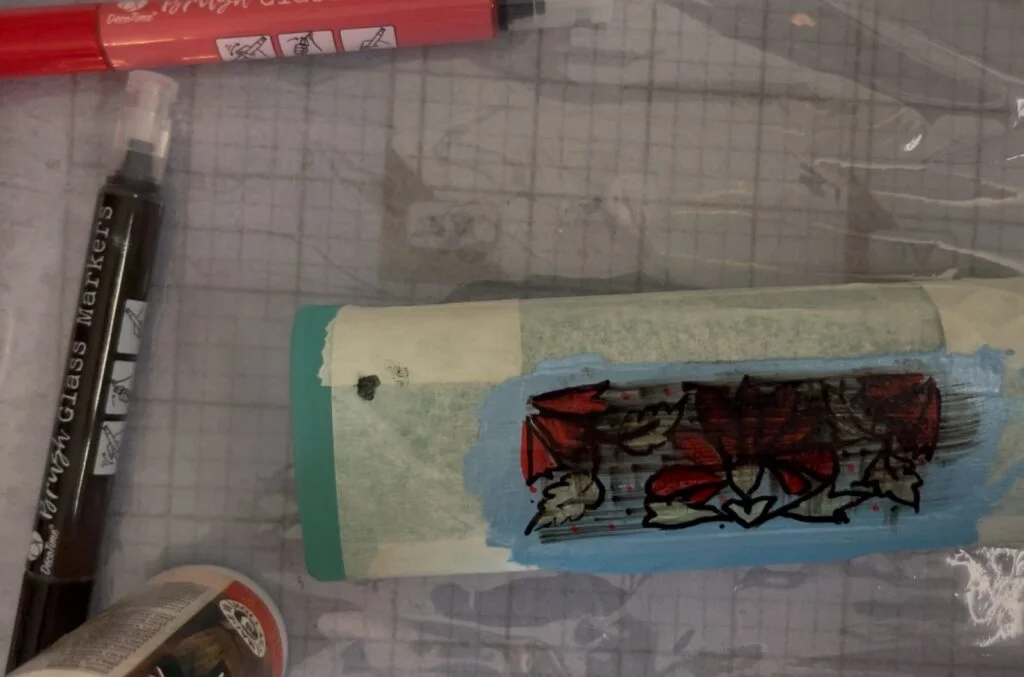
Step 6: Let It Dry and Finish
After painting, let your box dry completely. This step is crucial to ensure your hard work stays intact. Once dry, you can apply a varnish to seal and protect the paint. This gives the box a polished, professional finish and increases its durability.
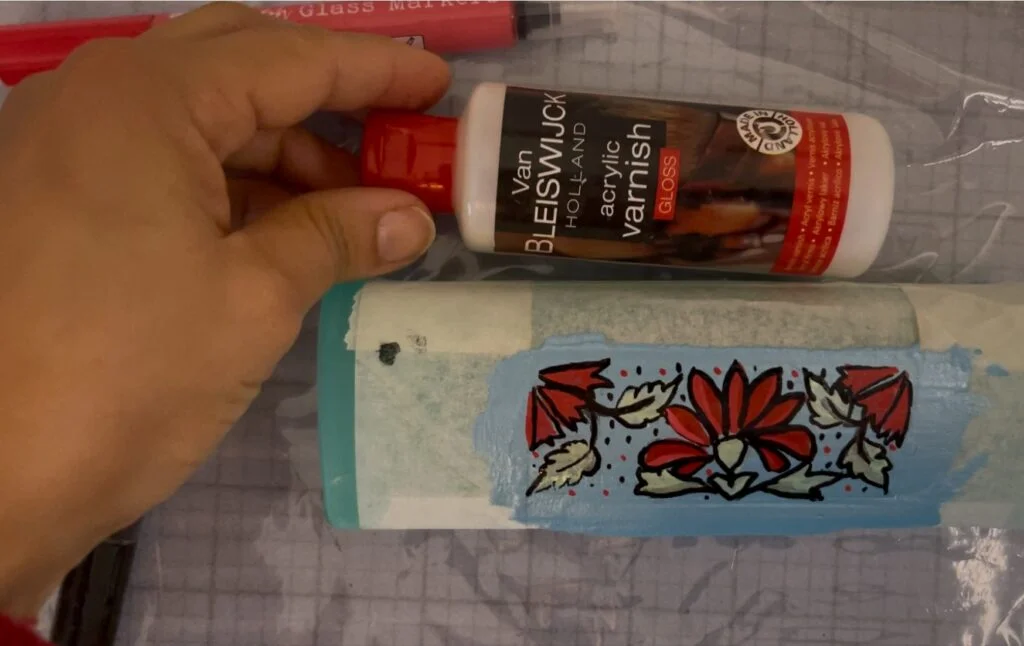
Be careful before applying varnish; ensure the box is completely dry. Use permanent colors that won’t smudge or mix, preserving your design perfectly.
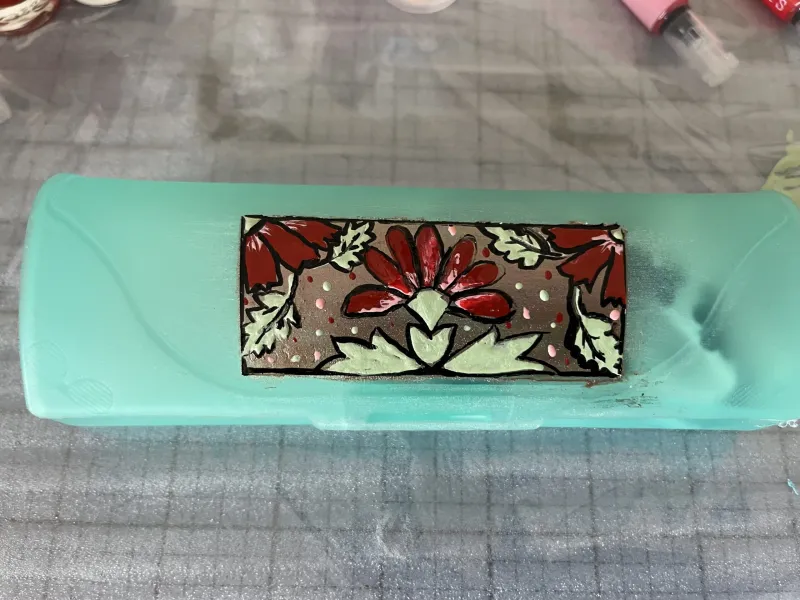
Step 7: Enjoy and Share Your Creation
Your optical box is now a functional piece of art! Use it to store your glasses or as a decorative piece. Each time you see it, you’ll have the satisfaction of knowing it’s uniquely yours.
Bonus:
Create a collection! Experiment with different designs and themes for all your optical boxes. These make thoughtful, personalized gifts for friends and family too.
Final Thoughts
Repurposing optical glass boxes is a fun and eco-friendly way to express your creativity. By following these steps, you can turn something ordinary into an extraordinary reflection of your style. For more painting tutorials, you might enjoy painting a tote bag.
I hope you enjoyed this tutorial and feel inspired to try it yourself. Remember, there are no rules when it comes to art—just have fun and keep creating!
