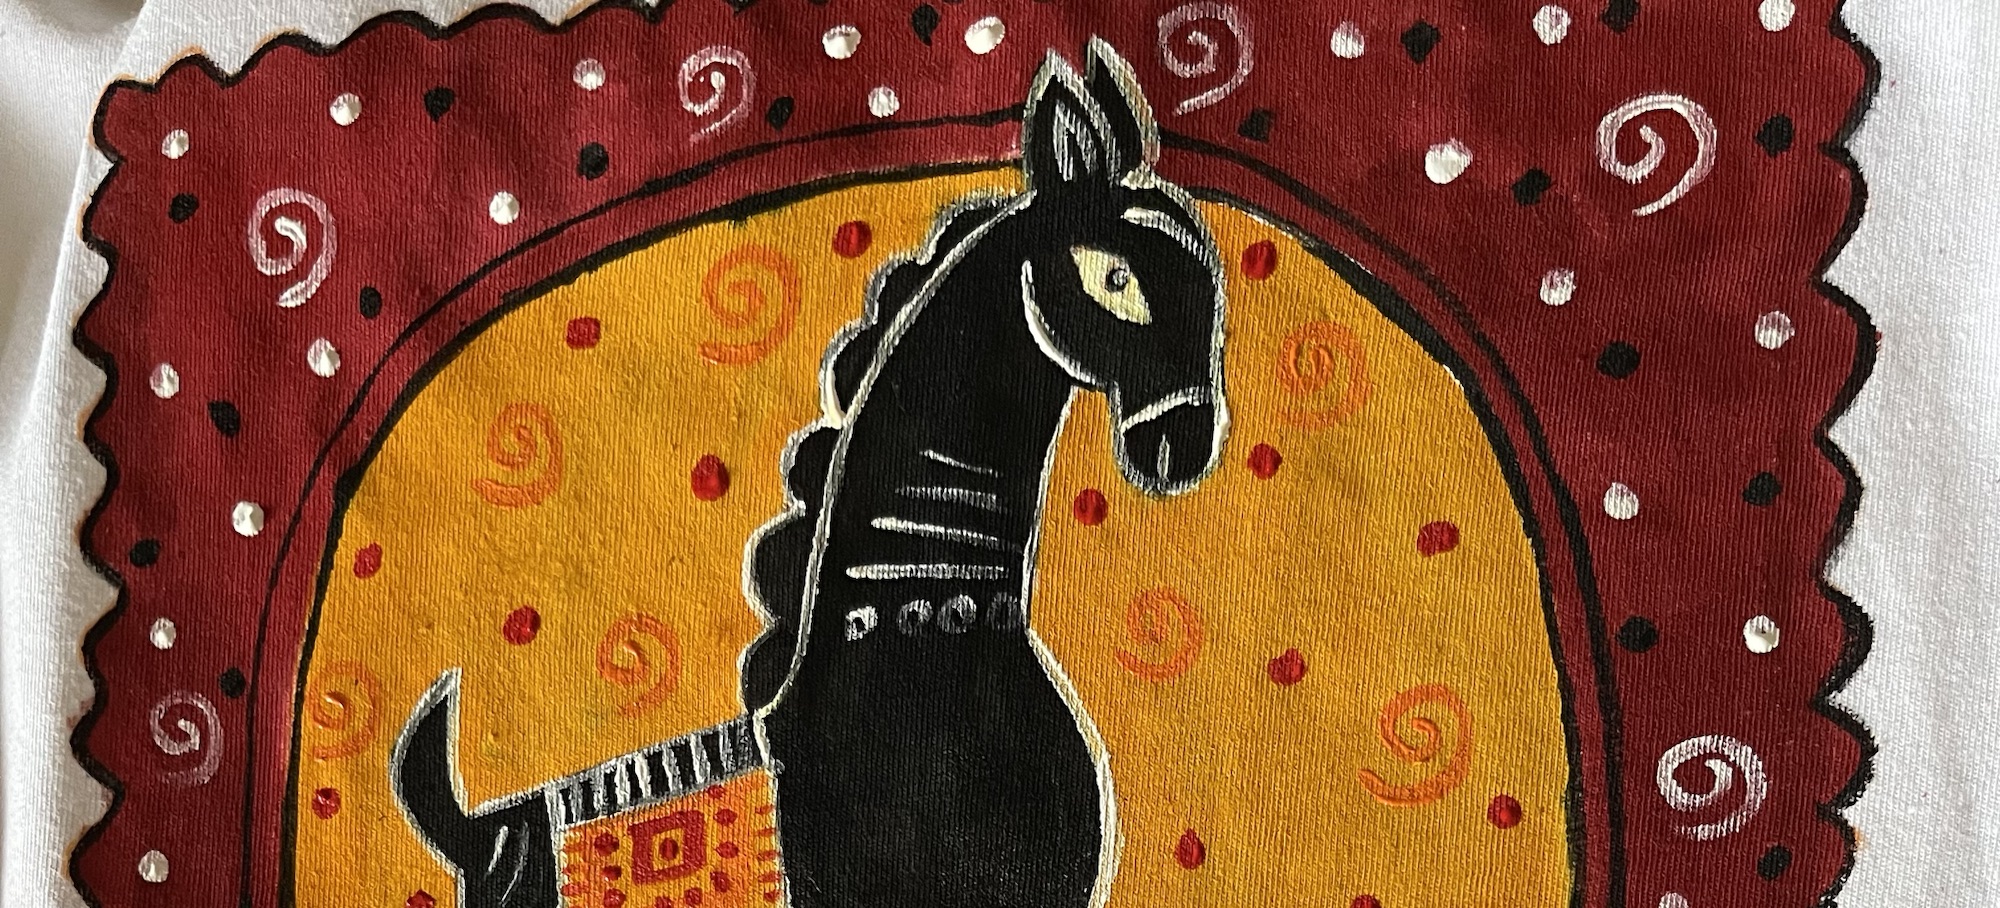
Painting a t-shirt is a creative and artistic way to personalize your clothing. With a few supplies and a bit of time, you can transform an old t-shirt into a true work of art. Today, I am sharing my tips and advice for painting a garment and giving it a new life.
Painting a T-Shirt: The Essential Steps
1. Choosing the Right Type of T-Shirt
One of the most important choices is to select the right type of fabric. White cotton t-shirts are ideal for painting because they provide a blank canvas and are less likely to cause the paint to bleed. Colored t-shirts can alter the paint hues; for example, a yellow t-shirt combined with blue paint may result in a greenish tint. Therefore, opt for a high-quality cotton t-shirt for the best results.


2. Design Preparation
I prefer to choose my design before starting to paint. I particularly enjoy working with Bangladeshi folk art, but you can choose any style that inspires you. For beginners, it is advisable to choose a simple design with a minimal number of colors. Here are some steps to properly prepare your design:
Choose a Simple Design: For beginners, it is best to start with a simple pattern to avoid mistakes.
Draw on Paper: Before reproducing your design on the t-shirt, draw it first on paper. This allows you to refine the details and test the colors.
Test the Colors: Choose and test the colors you will use on the paper. This will help you to visualize the final result.


3. Prepare the T-Shirt Before Painting
Good preparation is essential to ensure the durability of your design. Follow these steps to prepare your t-shirt:
Wash and Dry the T-Shirt: This removes any sizing or residue that could prevent the paint from adhering properly.
Iron the T-Shirt: To achieve a smooth and wrinkle-free surface, iron your t-shirt before you start painting.
Protect the Back of the T-Shirt: Place a piece of cardboard or another flat material inside the t-shirt to prevent the paint from bleeding through to the other side.


4. Trace the Design
Before starting to paint, it is helpful to lightly trace your design on the t-shirt:
- Use a color pencil or a washable marker: Lightly draw your design on the t-shirt. This will serve as a guide when you start painting.


5. Apply the Paint
Now let’s move on to applying the paint. Here are some tips for getting the best results:

- Use the Right Paint: Use fabric paint so it doesn’t fade in the wash. If you use other types of paint, such as spray or acrylic, make sure they are compatible with the fabric or add a fabric medium to make them suitable.


- Use the Right Brushes: Take several brushes of different sizes. Use large brushes for large areas and small brushes for details. Watercolor or acrylic brushes are recommended.

- Mix the Colors: If the paint is really dense, it’s best to slightly dilute it with a bit of water on the palette.


- Clean the Brushes: Carefully clean your brush every time you change colors to avoid unwanted mixing.


6. Wait for the Paint to Dry:
Before adding details or extra decorations, let the paint dry completely. The drying time may vary depending on the paint used, so be patient.

7. Fix the Paint
To ensure the durability of your design, it is crucial to fix the paint:

- Iron the T-Shirt: Once the painting is finished and the t-shirt is completely dry, iron the back of the fabric behind the paint to set the colors before washing it. Use an iron set to the appropriate temperature for the fabric and place a piece of fabric or paper between the iron and the paint to avoid any damage.
Painting a t-shirt is a fantastic way to express your personality and style. By choosing the right t-shirt and following the appropriate steps to prepare, paint, and set the paint, you can create a durable design. Remember that practice improves your skills, and with these tips, you’ll be well on your way to creating unique t-shirts that you can proudly wear for years.
Have you ever painted on t-shirts? Share your tips and tricks in the comments below!


Leave a Reply